Ultimate Cheesy Garlic Rolls for Irresistible Flavor 🧄🧀🥖
1. Introduction
If you’re searching for a crowd-pleasing treat that combines the warm, fragrant aroma of garlic with gooey cheese and soft, flaky bread, then these cheesy garlic buns are exactly what you need. Often called cheesy garlic bread or pull apart bread, this recipe transforms simple ingredients into a spectacular appetizer or side dish. Perfect for parties, family dinners, or a cozy night in, these garlic rolls are truly irresistible. Let’s dive into how to make these soft, flavorful, and cheesy delights that everyone will love.
2. Ingredients Needed for Cheesy Garlic Bread
- 2 cans of refrigerated biscuit dough or homemade pizza dough
- 1/2 cup unsalted butter, melted
- 4 cloves garlic, finely minced
- 1 1/2 cups shredded mozzarella cheese
- 1/4 cup grated Parmesan cheese
- 2 tablespoons chopped fresh parsley
- 1 teaspoon dried Italian herbs (optional)
- Salt and freshly ground black pepper to taste
- Additional shredded cheese for topping (optional)
3. Step-by-Step Instructions for Making Cheesy Garlic Buns
Prepare the Dough
If you’re using store-bought biscuit or pizza dough, roll it out to a rectangle about 1/4 inch thick. For homemade dough, follow your favorite recipe and let it rise as needed.
Make the Garlic Butter Mixture
In a small bowl, combine melted butter, minced garlic, Italian herbs, salt, and pepper. Mix well until fragrant and set aside.
Assemble the Rolls
Spread the garlic butter evenly over the dough. Sprinkle half of the shredded mozzarella and Parmesan over the top. Roll up the dough tightly from the longer side to form a log, then slice into 1 to 1.5-inch pieces.
Arrange in a Baking Dish
Place the sliced rolls into a greased baking dish, arranging them close together to create a pull-apart effect. Brush the tops with remaining garlic butter and sprinkle with the rest of the shredded cheese and fresh parsley.
Bake to Perfection
Bake in a preheated oven at 375°F (190°C) for about 20-25 minutes, or until golden brown and bubbly.
4. Tips for Perfect Cheesy Garlic Rolls
- For an extra cheesy kick, sprinkle more shredded cheese on top during the last 5 minutes of baking.
- Consider adding cooked bacon bits or jalapeños for added flavor.
- If making ahead, assemble the rolls and refrigerate, then bake just before serving.
5. Storage and Reheating Tips
Leftover garlic rolls can be stored in an airtight container in the refrigerator for up to 2 days. To reheat, warm them in a 350°F (175°C) oven for 10 minutes or until heated through. For convenience, you can also microwave individual rolls for a quick snack.
6. Serving Suggestions for Cheesy Garlic Buns
Serve these garlic rolls as an appetizer at your next gathering or alongside pasta dishes like healthy spinach tomato pasta. They also pair wonderfully with hearty soups, salads, or grilled meats. For extra flavor, try dipping them in marinara sauce or your favorite cheese dip.
7. Frequently Asked Questions about Garlic Rolls
Can I make cheesy garlic bread with gluten-free dough?
Yes, simply substitute regular dough with a gluten-free alternative available at most stores. The preparation process remains the same.
What are some substitutions for cheese allergens?
You can replace cheese with dairy-free cheese options or nutritional yeast for a cheesy flavor in vegan and dairy-free diets.
How long does it take to prepare these garlic buns?
The entire process takes approximately 35-40 minutes, including prep and baking time.
8. Kitchen tools that you might need for this recipe
- Fullstar Ultimate Veggie Prep Master – Makes chopping garlic and herbs quick and easy, ensuring even distribution and less prep time.
- CAROTE Premium 16pc Nonstick Cookware Set – Perfect for baking your cheesy garlic buns without sticking and for handling the prepping process efficiently.
- Ninja SLUSHi Pro RapidChill Drink Maker – Keep beverages cold while enjoying your delicious garlic rolls during gatherings.
9. Conclusion
These ultimate cheesy garlic rolls are a delightful treat that will enhance any meal or celebration. Their irresistible combination of garlic, cheese, and soft bread makes them a favorite for kids and adults alike. Whether you’re serving them as a side dish or as the star of your appetizer platter, you’ll love how simple and flavorful this pull apart bread recipe is to create. Give it a try, and you’ll be inspired to make it again and again!
Print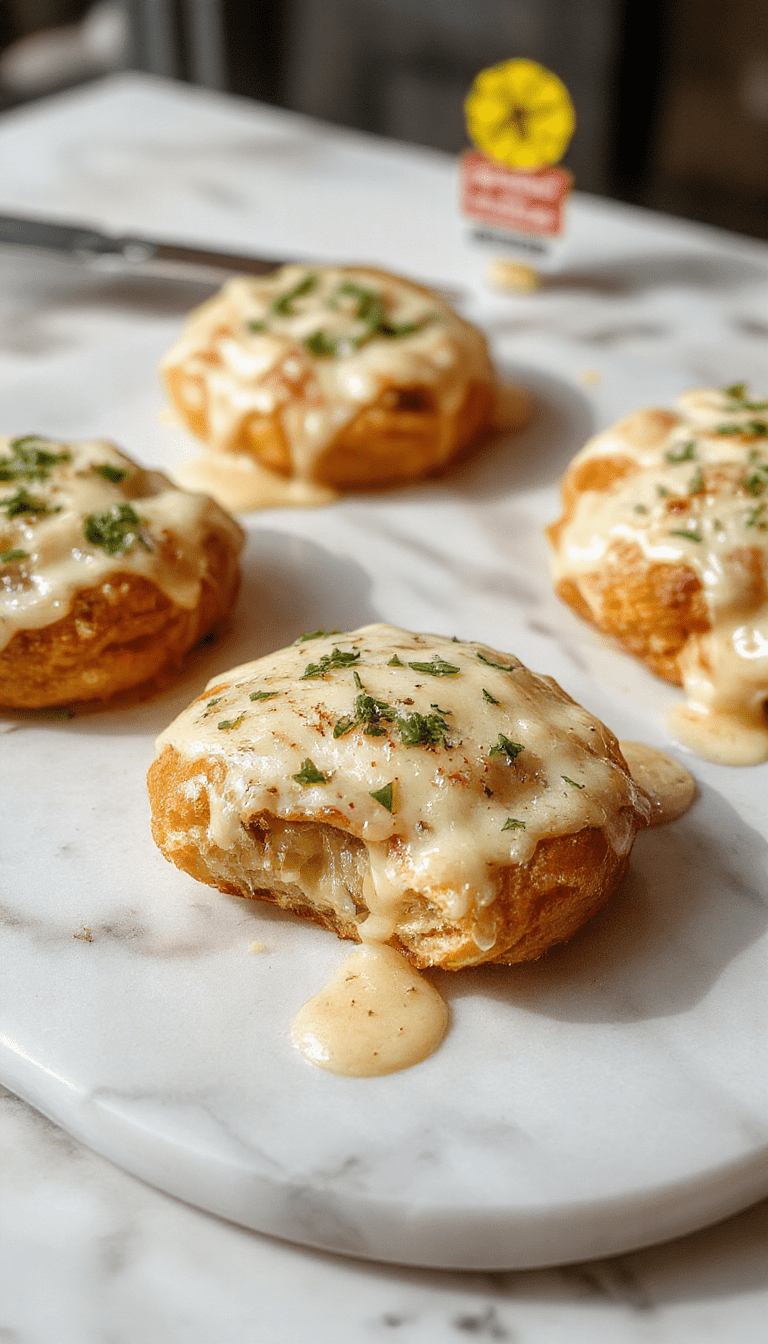
Ultimate Cheesy Garlic Rolls for Irresistible Flavor
These cheesy garlic rolls are soft, warm, and bursting with flavor. Perfect as an appetizer or side dish.
- Total Time: 1 hour 35 minutes
- Yield: 12 rolls
Ingredients
- 2 cups all-purpose flour
- 1 packet active dry yeast
- 3/4 cup warm water
- 1/4 cup melted butter
- 3 cloves garlic, minced
- 1 cup shredded mozzarella cheese
- 1/2 cup grated Parmesan cheese
- 1 teaspoon sugar
- 1 teaspoon salt
- Fresh parsley for garnish
Instructions
- In a bowl, dissolve yeast and sugar in warm water. Let sit until frothy, about 5 minutes.
- In a large mixing bowl, combine flour and salt. Add the yeast mixture, melted butter, and knead until smooth.
- Cover the dough and let rise in a warm place for about 1 hour or until doubled in size.
- Preheat oven to 375°F (190°C). Punch down the dough and roll into a rectangle.
- Spread minced garlic evenly over the dough, sprinkle mozzarella and Parmesan cheese.
- Roll the dough tightly from the short end and cut into 12 equal slices.
- Place slices on a greased baking sheet, brush with melted butter, and sprinkle parsley.
- Bake for 15-20 minutes or until golden brown and cheese is bubbly.
Notes
- Can be made ahead and baked fresh later.
- Adjust garlic to taste for more or less flavor.
- Prep Time: 15 minutes
- Cook Time: 20 minutes
- Method: Baking
- Cuisine: American
- Diet: Vegetarian
Nutrition
- Serving Size: 1 roll (about 80g)
- Calories: 220 Kcal
- Sugar: 3g
- Sodium: 450mg
- Fat: 10g
- Saturated Fat: 6g
- Unsaturated Fat: 3g
- Trans Fat: 0g
- Carbohydrates: 28g
- Fiber: 1g
- Protein: 8g
- Cholesterol: 25mg
3 thoughts on “Cheesy garlic rolls”